
Desserts
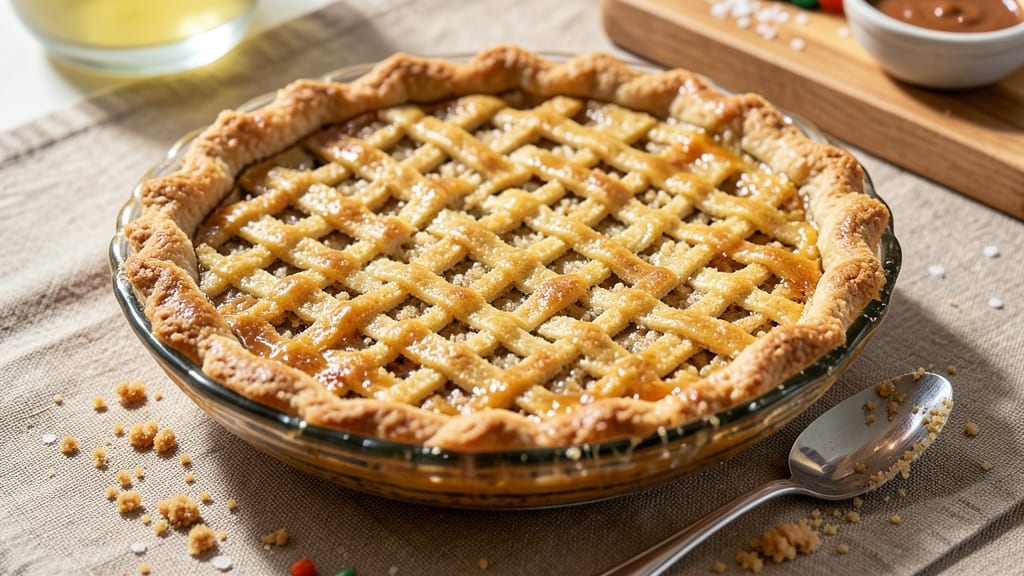
This 9-inch graham cracker pie crust recipe delivers the perfect foundation for cheesecakes, fruit pies, or any dessert needing a sturdy, buttery base that stays crunchy even after hours in the fridge. The secret lies in the right ratio of graham crackers to melted butter—enough to bind without making the crust soggy. I’ve perfected this technique over years of baking, ensuring it holds its shape under fillings while maintaining that signature graham cracker crunch.
What sets this crust apart is the chilling step, which prevents cracking and ensures even pressing. You’ll work with just five ingredients—graham crackers, melted butter, a touch of sugar, and a pinch of salt—all combined and pressed into a pan for a foolproof result.
The baking time is short (10 minutes at 350°F), but the cooling phase is critical for setting the texture just right.
By the time you’re done, you’ll have a crust that’s golden, crisp, and sturdy enough to support even the heaviest fillings—no more soggy bottoms or crumbling edges.
The buttery flavor shines through, complementing sweet or tangy toppings perfectly. Whether you’re making a classic cheesecake or a berry pie, this crust is your secret weapon.
For extra insurance, I recommend pre-baking the crust for 10 minutes before adding fillings, especially if your dessert requires a water-based component. This step eliminates any risk of a soggy base while keeping the texture intact. Let’s get started!
Ingredients for 9 inch graham cracker pie crust
Five simple ingredients transform into a buttery, crunchy pie crust that holds up all night.
| Ingredient | Amount | Notes |
|---|---|---|
| Graham Crackers 🍪 | 2 cups | Crushed into fine crumbs |
| Unsalted Butter 🧈 | ½ cup | Melted, cooled slightly |
| Granulated Sugar 🍚 | 1 tbsp | For extra sweetness |
| Salt 🧂 | ¼ tsp | Fine sea salt preferred |
| Vanilla Extract 🌸 | ½ tsp | Optional for depth |
Graham crackers are the star here—Honey Maid or Nabisco work best for that classic flavor. Grab a box from any grocery store, but check the expiration date since stale crackers make a bland crust. The butter? Use unsalted so you control the saltiness. Melt it gently in the microwave (40-second bursts) to avoid burning, then let it cool just enough to handle. The sugar and salt are just flavor boosters—don’t skip them, even if your crackers are already sweetened. For that extra touch, a splash of vanilla extract adds depth, but it’s totally optional if you’re keeping it classic.
No graham crackers? Digestive biscuits or vanilla wafers work in a pinch—they’re just as sturdy. Butter too rich for your taste? Coconut oil gives a similar texture (though it’s dairy-free, so keep that in mind). If you’re prepping ahead, crush the crackers in a food processor or sealable bag with a rolling pin—no need for a blender. The vanilla extract can be swapped for almond extract at half the amount if you want a nutty twist. Just remember, the finer the crumbs, the smoother your crust will press.
This crust keeps 3 days in the fridge, covered tightly in plastic wrap. For longer storage, freeze it for up to 1 month—just thaw at room temperature before using. I always make an extra crust and freeze one; it’s perfect for last-minute desserts. If you’re pre-baking (which I highly recommend for cheesecakes), bake at 350°F for 10 minutes until just golden. Let it cool completely before adding fillings—patience here prevents soggy bottoms.
Why You'll Love This Recipe
- Here’s what sold me: that whisper of vanilla in the butter. It’s not overpowering, just enough to make every bite feel like a warm hug—especially when paired with something like a silky cheesecake or a tart berry filling. The sugar melts into the butter just right, giving it this just-baked sweetness that’s impossible to resist.
- No-Fuss Assembly: I swear by this crust because it’s basically stir-and-pulse magic. Pulse graham crackers and butter in a food processor, dump into a pie dish, and press down—no rolling, no fuss, no stress. The moment those crackers soften just enough to hold shape but still stay crispy? That’s when I know I’ve won.
- Buttery Vanilla Hug: Here’s what sold me: that whisper of vanilla in the butter. It’s not overpowering, just enough to make every bite feel like a warm hug—especially when paired with something like a silky cheesecake or a tart berry filling. The sugar melts into the butter just right, giving it this just-baked sweetness that’s impossible to resist.
- Pie Pan Swiss Army: Between us, this crust is my secret weapon for impromptu desserts. Need a last-minute cheesecake for a potluck? Done. Craving a no-bake pie for a picnic? Covered. It’s the ultimate blank canvas—sturdy enough for heavy fillings but delicate enough for fruit toppings. (Yes, even on a Tuesday night.)
Step-by-step instructions for a 9-Inch graham cracker pie crust
Here's how to build a buttery, crunchy crust that holds up perfectly—no soggy bottoms here.
Crush the Graham Crackers into Fine Crumbs
Place the 2 cups of graham crackers in a large resealable plastic bag. Using a rolling pin or the bottom of a heavy skillet, crush them into fine crumbs—think sand-like texture, not coarse chunks. I like to work in batches if needed, pressing firmly but evenly to avoid any large pieces.
If you're using a food processor, pulse briefly (3-4 seconds) just to break them down. The goal is uniformity—this ensures even baking and a consistent crunch. Once crushed, transfer the crumbs to a large mixing bowl and set aside.
Melt and Cool the Butter
Melt the 0.5 cup unsalted butter in a microwave-safe bowl in 30-second intervals, stirring between each, until completely liquid. Let it cool for 5-7 minutes until it's warm to the touch but not hot—you want it just soft enough to mix smoothly without melting the graham crackers prematurely.
This cooling step is crucial. If the butter is too hot, it'll turn the crust greasy instead of flaky. A quick test: touch the bowl's edge—it should feel comfortably warm, not scalding. If it's still too hot, let it sit another minute or two.
Combine Wet and Dry Ingredients
Pour the cooled butter over the graham cracker crumbs in the bowl. Add the 1 tablespoon granulated sugar, 0.25 teaspoon salt, and 0.5 teaspoon vanilla extract. Using a wooden spoon or silicone spatula, mix gently but thoroughly until the crumbs are evenly moistened and the mixture resembles damp sand.
Don't overmix—just until the crumbs clump together when pressed. The texture should hold when you squeeze a handful, but not so tightly that it crumbles apart. If it feels too dry, add 1 teaspoon cold water to help bind it.
Press the Crust into the Pan
Lightly grease a 9-inch pie dish with a bit of butter or nonstick spray. Press the graham cracker mixture evenly into the bottom, using your fingers or a flat-bottomed glass to create an even, compact layer. Press gently but firmly—you want it to be about ¼-inch thick all the way to the edges.
For extra stability, press a thin layer of crumbs along the sides of the pie dish to create a rim. This prevents the filling from leaking out later. Once pressed, chill the crust in the refrigerator for 15-20 minutes to firm up before adding your filling.
Bake for Maximum Crunch
Preheat your oven to 350°F. Place the chilled crust on a baking sheet (to catch any potential drips) and bake for 8-10 minutes until the edges are lightly golden and the center feels set when pressed gently. This short bake ensures the crust stays crispy—not soft—even after hours in the fridge.
Let the crust cool completely before adding your filling. The residual heat will help set it perfectly, and the cooled crust will hold up beautifully to creamy or custardy fillings. Store any leftovers in an airtight container for up to 5 days—it stays crunchy the whole time!
Pro Tips For Making 9 Inch Graham Cracker Pie Crust
- CHILL THE BUTTER FIRST: Cold butter is non-negotiable here—take it straight from the fridge (or freezer for 10 minutes) and cut it into ¼-inch cubes. I learned this the hard way when I used room-temperature butter and ended up with a greasy, crumbly mess instead of a sturdy crust. The butter should stay firm but slightly soft when pressed—like a ripe avocado, not a block of ice.
- PULVERIZE THE CRACKERS: Don’t just crumble the graham crackers with your hands—pulse them in a food processor until they’re fine, almost flour-like. This ensures a smooth, even crust that holds together when pressed into the pan. (Yes, even if it feels like overkill—your future pie filling will thank you.)
- PRESS FIRMLY, THEN FREEZE: Pack the graham cracker mixture into the pie dish hard—press it down with the bottom of a measuring cup or your palm until it’s solid. Then, pop it in the freezer for 15 minutes before adding filling. This prevents the crust from disintegrating when wet, and I’ve never had a soggy bottom since.
- MEASURE SUGAR BY WEIGHT: If your recipe calls for ¼ cup sugar, use a kitchen scale—it’s the only way to guarantee consistency. Spooning sugar from a cup leaves gaps, and you’ll end up with a crust that’s either bland or cloyingly sweet. (I know, I know—it’s one extra step, but it makes a real difference.)
Make-ahead tips for leftovers
Prep Ahead for Stress-Free Baking
Make the crust up to 3 days in advance and store it in an airtight container at room temperature. The flavors deepen overnight, and the texture stays perfectly crunchy. I always prep mine the night before—it’s one less thing to worry about on baking day.
Just press it into the pan, chill, then cover tightly with plastic wrap. 💫
Freeze for Last-Minute Desserts
For ultimate convenience, freeze the unbaked crust for up to 1 month. Wrap it tightly in plastic wrap, then place it in a freezer bag with all the air squeezed out.
Thaw at room temperature for 1-2 hours before baking. I keep a backup crust in my freezer—perfect for spontaneous dessert cravings or when guests drop by unexpectedly.
Pre-Bake for Cheesecakes
Always pre-bake the crust for 8-10 minutes at 350°F before adding cheesecake batter. This step prevents sogginess and ensures the crust stays crisp. Let it cool completely before pouring in the filling—this helps set the texture perfectly. I swear by this method for restaurant-quality results at home. ✨
Double Batch for Efficiency
Make two crusts at once and freeze one for later. Use a second pie dish or divide the mixture evenly between two. This saves time when you’re making multiple desserts or hosting gatherings. I often double-batch when I’m prepping for holidays—it’s a total game-changer. 🌟
Chill Before Pressing
If your kitchen is warm, chill the graham cracker mixture for 10 minutes before pressing it into the pan. This helps prevent melting and makes the crust easier to handle. I learned this trick after a few messy attempts—now my crusts always turn out perfectly. 💡
Label for Easy Tracking
If freezing, label your crust with the date and baking instructions. I use a small piece of tape with a marker—this way, you won’t forget how long it’s been stored. Trust me, nothing’s worse than thawing a crust only to realize it’s been in the freezer too long. ⏰
Nutrition facts
Frequently asked questions
Can I use store-bought graham cracker crumbs instead of crushing my own?
Yes, you can absolutely use store-bought graham cracker crumbs to save time! Just check the package for the exact amount needed—typically 2 cups will match our recipe. For best results, combine them with the melted butter and other ingredients as directed. The texture will be slightly more uniform, but freshly crushed crackers add a little extra crunch.
Why does my crust turn out greasy instead of crispy?
Greasy crusts usually happen when the butter is too hot when mixed with the graham crackers. Always let the melted butter cool for 5-7 minutes until it's warm but not hot to the touch. If it's still too warm, chill the mixture for 10 minutes before pressing. This helps the butter set properly for a crispy, not greasy, result.
Can I make this crust without butter for a dairy-free version?
Replace the 0.5 cup butter with 0.5 cup melted coconut oil (refrigerated until solid) or dairy-free margarine. The texture will be slightly different but still sturdy. For extra flavor, add 1 teaspoon vanilla extract to compensate for the missing butter taste. Just press the crust firmly and chill before baking.
How do I prevent the crust from cracking when adding fillings?
Pre-bake the crust for 8-10 minutes at 350°F before adding any fillings, especially for cheesecakes or custards. This step removes moisture and sets the texture. Let it cool completely before adding fillings, and chill the assembled dessert for 4 hours or overnight to prevent cracking. For extra insurance, tap the pan gently on the counter to settle the crust before baking.
What's the best way to store leftover crust?
Store unbaked crust in an airtight container at room temperature for up to 3 days, or freeze it for 1 month. For baked crusts, keep them in the fridge for 5 days or freeze for 2 months. Always wrap tightly in plastic wrap to maintain crispness. Thaw frozen crusts at room temperature for 1-2 hours before reheating at 350°F for 5 minutes if needed.